One-Step Dies


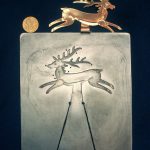
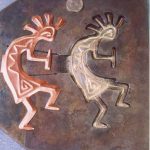
 These parts are from the one-step cut/emboss dies. This represents the easiest way to add metal forming into the mix. One way this process works is by taking a basic die and attaching low profile wire designs or sculptural elements to it. In the press the die is set onto a urethane or plastic pad instead of the steel platen. When cut, the die then pushes the part down and it is embossed between the flexible plastic and the forming element on the die.
The beauty of this method is that it is a one-piece, self-contained unit. Metal is simply inserted into the die, the die is placed on a polyurethane pad or plastic block in the press, then the cutting and forming takes place in a single press cycle.
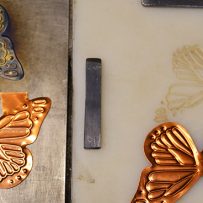
The simplest version of this type of die doesn’t need a matching female mold , but not all designs will work by merely pressing the design down into a smooth polyurethane or nylon block, and some sort of mold is required. The butterfly pic (blog post, also) shows the nylon mold made by heating and pressing the die into the nylon, creating the negative impression that the (26 ga. copper) metal gets pressed into. The advantage of this approach is speed, because it forms better , at lower pressure, and better support for the die , which can prevent dies from cracking with long term use. The thing to note is to not use any plastic that is brittle ; stick to acetyl, polycarbonate, nylon, and of course polyurethane (synthetic rubber) , and similar materials.
The “quickie” version of this technique is shown by the spiral star , with the guides being quickly taped and glued down, and the impression made by pressing the die into the plastic (polycarbonate (Lexan) . This style of die is shown in more elaborate versions on the ‘Special Dies’ page.
